
Audi Q3: Special Tools
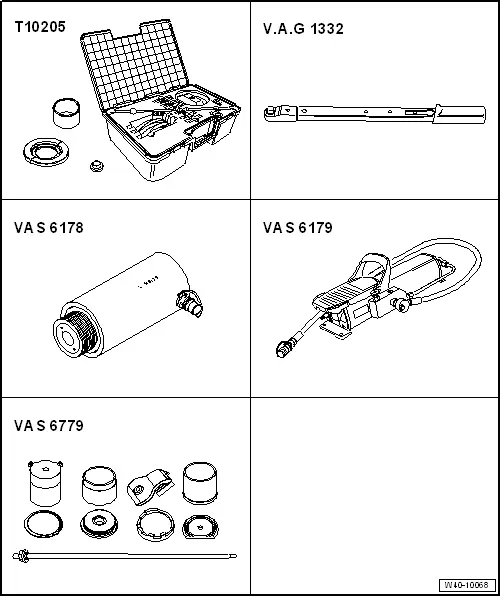
Special tools and workshop equipment required
- Bearing Installer - Wheel Hub/Bearing Kit -T10205-
- Torque Wrench 1332 40-200Nm -VAG1332-
- Hydraulic Press -VAS6178-
- Pneumatic/Hydraulic Foot Pump -VAS6179-
- Hydraulic Press - Bushing Tool Kit -VAS6779-
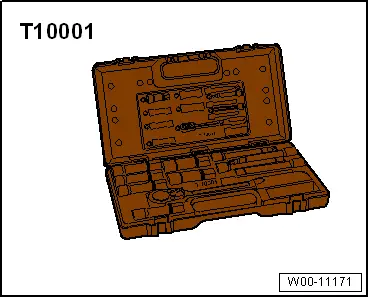
- Shock Absorber Set -T10001-
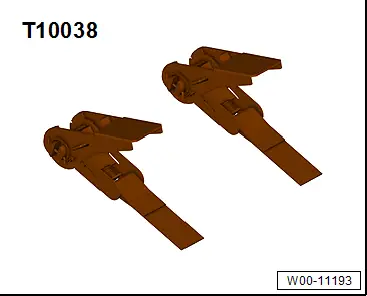
- Tensioning Strap -T10038-
- Tripod Joint Tool -T10065-
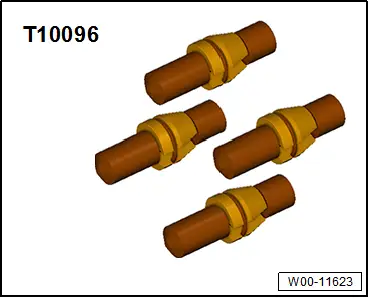
- Locating Pins -T10096-
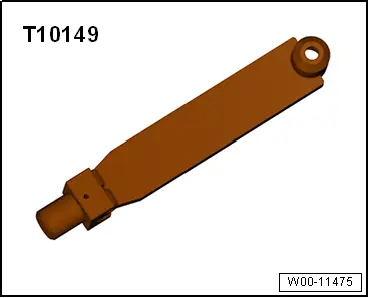
- Engine/Gearbox Jack Adapter - Wheel Hub Support -T10149-
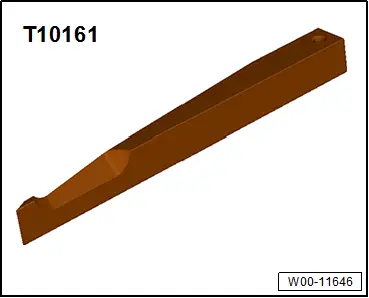
- Drive Axle Wedge Tool -T10161-
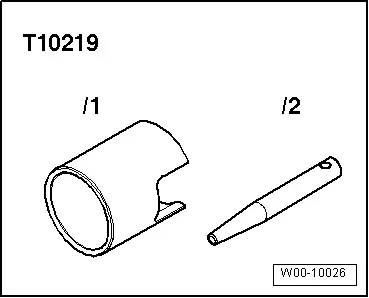
- Wishbone Rubber Mount Assembly Tool -T10219-
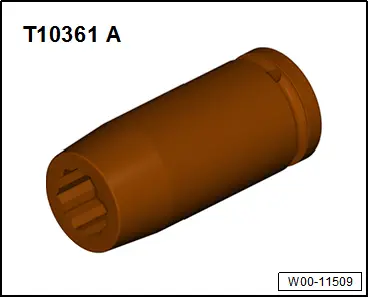
- Socket AF 24 mm -T10361A-
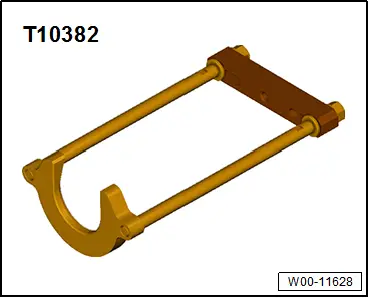
- Puller - Driveshaft -T10382-
- Hose Clip Pliers -VAG1275A-
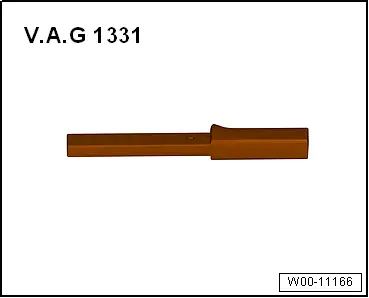
- Torque Wrench 1331 5-50Nm -VAG1331-
- Torque Wrench 1331 Insert - Ring Wrench - 16mm -VAG1331/12-
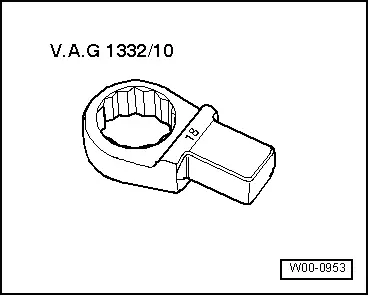
- Torque Wrench 1332 Insert - Ring Wrench - 18mm -VAG1332/10-
- Clamping Pliers -VAG1682A-
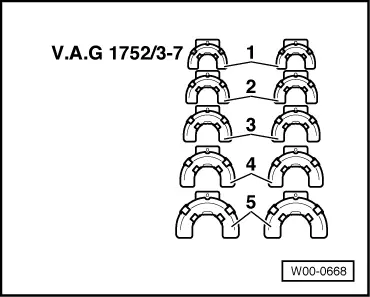
- Spring Compressor Kit - Spring Tensioner -VAG1752/1-
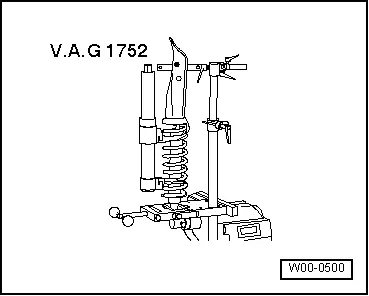
- Spring Compressor Kit - Spring Retainer w/Inserts -VAG1752/4-
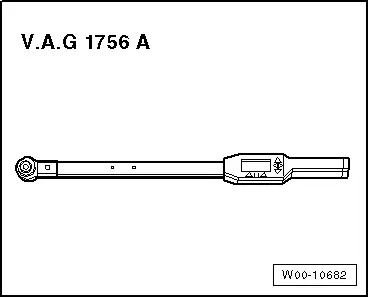
- Digital Torque Wrench -VAG1756A-
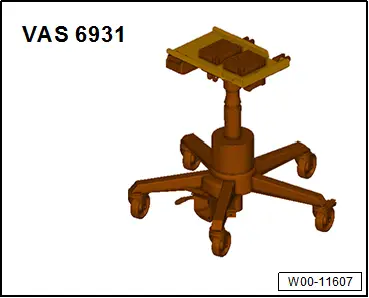
- Engine and Gearbox Jack -VAS6931-
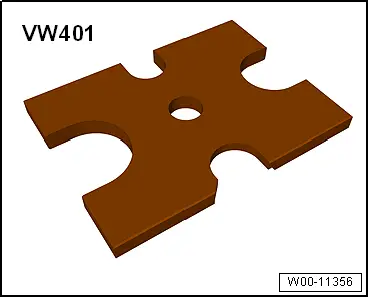
- Press Plate -VW401-
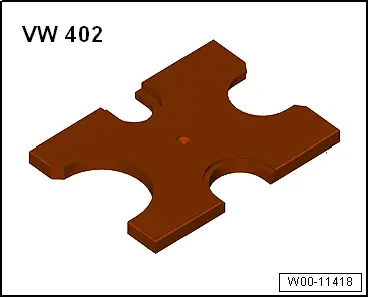
- Press Plate -VW402-
- Press Piece - Rod -VW408A-
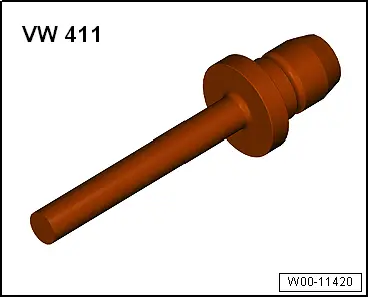
- Press Piece - Rod -VW411-
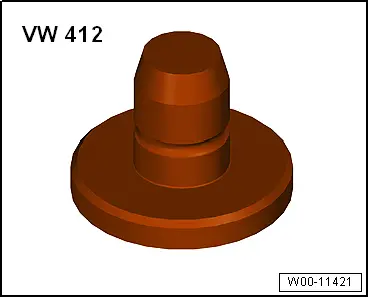
- Press Piece - Multiple Use -VW412-
- Press Piece - 37mm -VW416B-
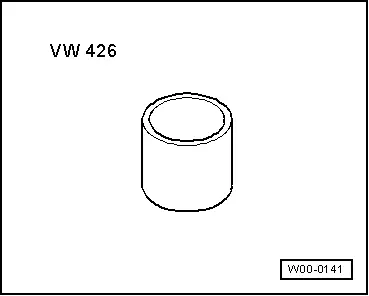
- Press Piece - Multiple Use -VW426-
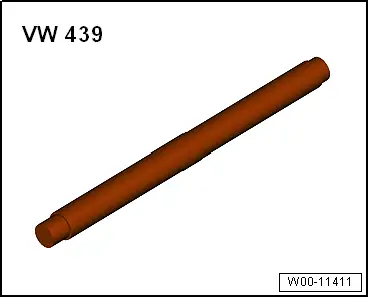
- Press Piece - Guide Pin -VW439-
- Press Piece - Multiple Use -VW447H-
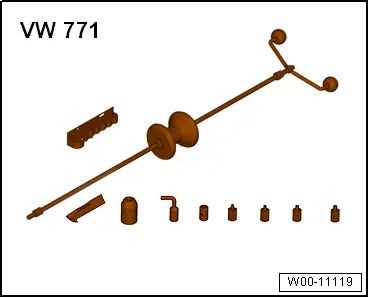
- Slide Hammer Set -VW771-
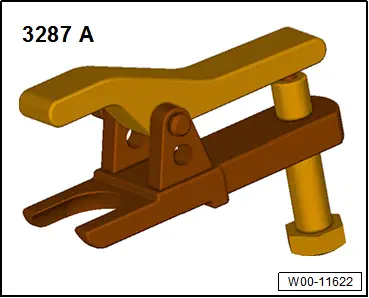
- Puller - Ball Joint -3287A-
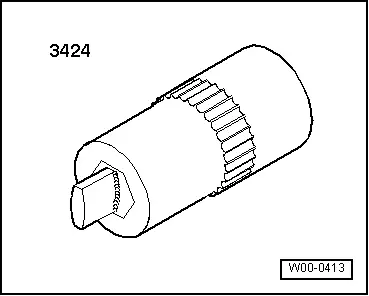
- Spreader Tool -3424-
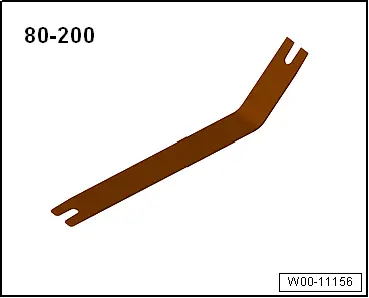
- Pry Lever -80-200-
READ NEXT:
 Overview - Subframe
Overview - Subframe, Vehicles with FWD
Caution
There is a risk of damaging the subframe threaded
connection threads on the body.
The subframe bolts on the body must not be loosened
Subframe, Removing and Installing
Subframe, Removing and installing, FWD Vehicles
Special tools and workshop equipment
required
Locating Pins -T10096-
Torque Wrench 1332 40-200Nm -VAG1332-
Engine and Gearbox Jack -VAS6931-
SEE MORE:
Overview - Front Bumper Cover
Overview - Bumper Cover, Audi Q3 through MY 2014
1 - Bumper Cover Lower Section
Removing and installing. Refer to
→ Chapter "Bumper Cover Lower Section, Removing and Installing, Audi Q3".
2 - Bolt
2 Nm
Quantity: 6
3 - Bumper Cover Center Part
Rearview Camera -R189-, Removing and Installing
The Rearview Camera -R189- is inside the rear lid handle
button. It permanently attached to the button.
If the Rearview Camera -R189- must be replaced, then the
handle button must also be replaced.
Removing
- Turn off the ignition and all electrical equipment and
remove the ignition ke
© 2019-2026 Copyright www.auq3.net | 0.0109
