Audi Q3: Connectors
Connector Component Location Overview
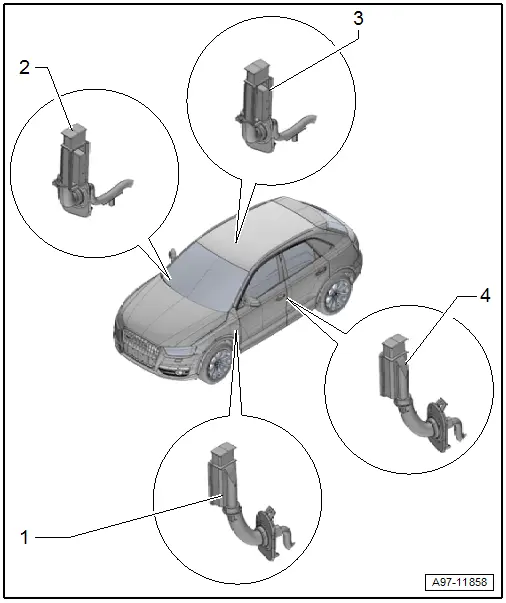
1 - Right Front Door Cut-Off Connector
- Disconnecting. Refer to → Chapter "Left Door Cut-Off Connector, Disconnecting".
2 - Right Rear Door Cut-Off Connector
- Disconnecting. Refer to → Chapter "Left Door Cut-Off Connector, Disconnecting".
3 - Left Rear Door Cut-Off Connector
- Disconnecting. Refer to → Chapter "Left Door Cut-Off Connector, Disconnecting".
4 - Left Front Door Cut-Off Connector
- Disconnecting. Refer to → Chapter "Left Door Cut-Off Connector, Disconnecting".
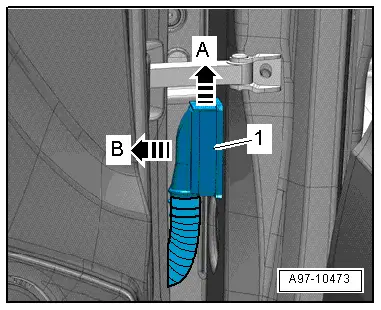
Left Door Cut-Off Connector, Disconnecting
Procedure
 Note
Note
The removal and installation is the same for both sides.
- Open the door.
- Release the connector catch in the direction of -arrow A- and remove the door cut-off connector -1- toward the outside in direction of -arrow B-.
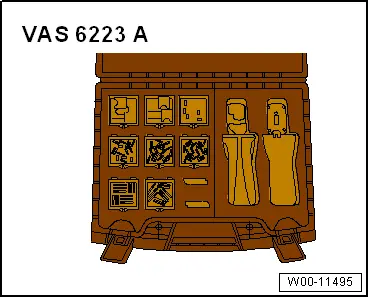
Special Tools
Special tools and workshop equipment required
- Fiber-Optic Repair Set - Connector Protective Caps -VAS6223/9- from Fiber-Optic Repair Set -VAS6223B-
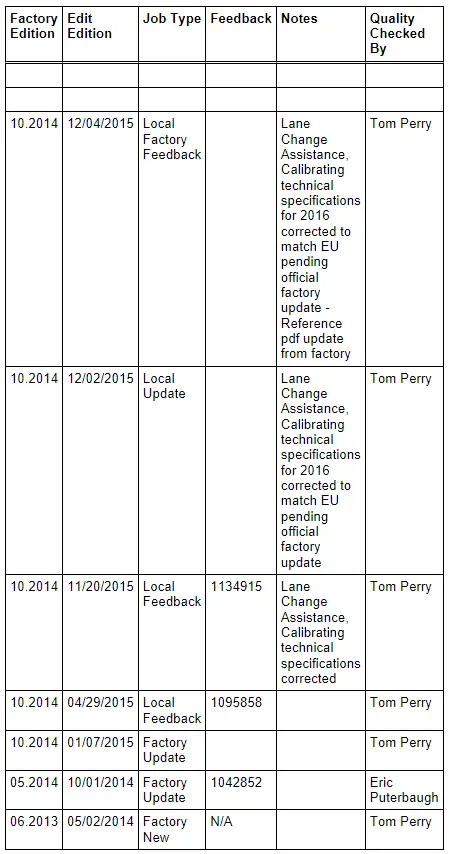
Revision History
DRUCK NUMBER: A005A001721
READ NEXT:
 General, Technical data
Safety Precautions
Safety Precautions when Working on Start/Stop System
Pay Attention to the Following when Working On Vehicles with
a Start/Stop System:
WARNING
Danger of personal injSEE MORE:
Memory function
General information
With the memory function, you can save and call
up seat profiles using the memory buttons in the
door trim panel.
Depending on vehicle equipment, some settings
such as the driver's seat and exterior mirror position
can be stored.
Storing and recalling a seat profile
The memory fu
Component Location Overview - Seat Belts and Attaching Points
1 - Front Seat Belt Latch
Overview. Refer to
→ Chapter "Overview - Front Seat Belt Latch".
2 - Front Passenger Seat Belt Tensioner Igniter 2 -N298-
Only USA and Canada market
Overview. Refer to
→ Chapter "Overview - Front Three-Point Seat Belt, US
© 2019-2026 Copyright www.auq3.net | 0.0098
