Audi Q3: Tires with Emergency Running Characteristics, Repairing
Wheel and Tire General Information / Chassis / Audi Q3 (8U) 2011-2018 Service Manual / Tires with Emergency Running Characteristics, Repairing
General Information
 Caution
Examining damaged tires should only be performed by trained personnel.
 WARNING
- Run-flat tires must be replaced after they have gone flat.
- Pay close attention to the installation instructions.
- The wheel must be inspected before mounting, as with conventional wheel/tire systems.
- The wheels should be checked for damage after a flat tire (true running, axial run-out, other damage) because the wheel could be damaged in an emergency by driving through a pothole.
- A damaged wheel should be replaced.
 Note
Note
- Flat tire sprays may be used on tires with emergency running characteristics (SST).
- Tires must be replaced after running flat.
- Observe the manufacturer mounting instructions.
Special Tools
Special tools and workshop equipment required
- Trim Removal Wedge -3409-
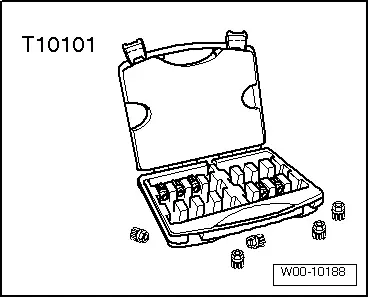
- Wheel Lock Set -T10101-

- Wheel Lock Set -T10101A-
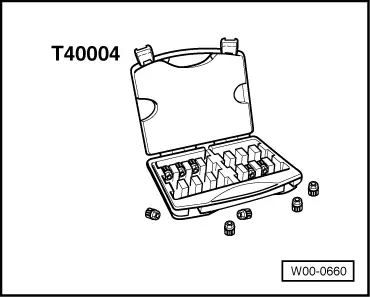
- Wheel Lock Set -T40004-
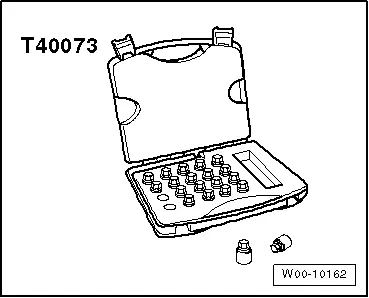
- Wheel Lock Set -T40073-
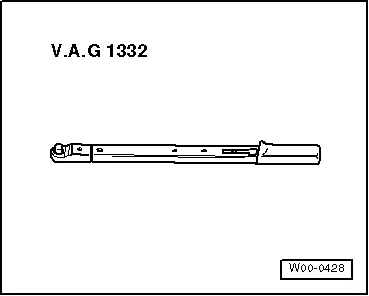
- Torque Wrench 1332 40-200Nm -VAG1332-
- Torque Wrench 1410 -VAG1410-

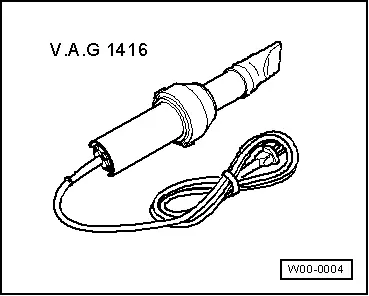
- Hot Air Blower -VAG1416-
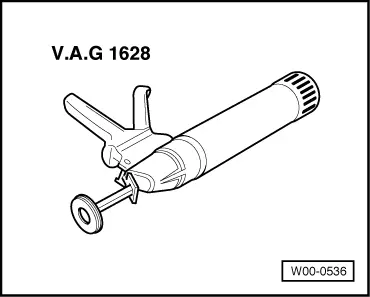
- Cartridge Gun -VAG1628-
- Wheel Centering System Adapter -VAS5271-
- Hunter RFT33VAG Road Force Touch Wheel Balancer -VAS6230B4-
- Wheel Balancer Clamping Adapter - 5 Lug -VAS6243-
- Tension Plate -VAS6652-
- Pressure Bolt -VAS6652/1-
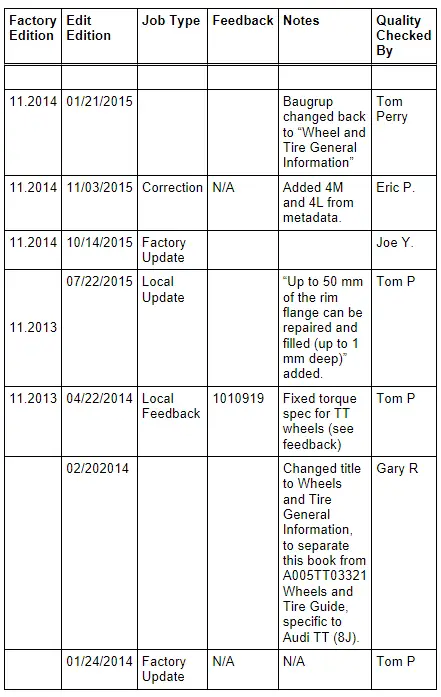
Revision History
DRUCK NUMBER: A00ARRA0021
READ NEXT:
 General, Technical data
Safety Precautions
Start/Stop System Safety Precautions
When Working on Vehicles with the Start/Stop System, Observe
the Following:
WARNING
Danger of personal injury because the engineSEE MORE:
Charging the battery using the USB input
Applies to: vehicles with Audi phone box/Audi phone box light
You can charge your mobile device using a special
USB adapter with the Audi phone box.
Requirement: the ignition must be switched on.
To charge your mobile device via USB, connect it
to the USB input 1 fig. 123.
Tips
You can purch
Traffic incidents
Introduction
Applies to: vehicles with navigation system and online traffic
information
Fig. 135 Traffic information overview
Open traffic information
Requirement: the map must be displayed.
Press on the traffic jam symbol in the side
menu on the map fig. 131.
Display traffic report details
© 2019-2026 Copyright www.auq3.net | 0.0094
