Audi Q3: Central Locking
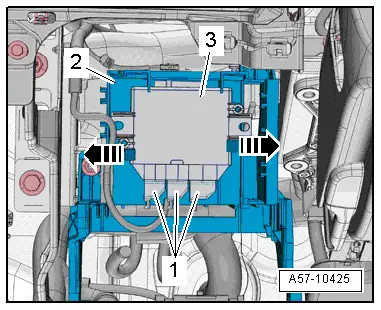
Component Location Overview - Central Locking
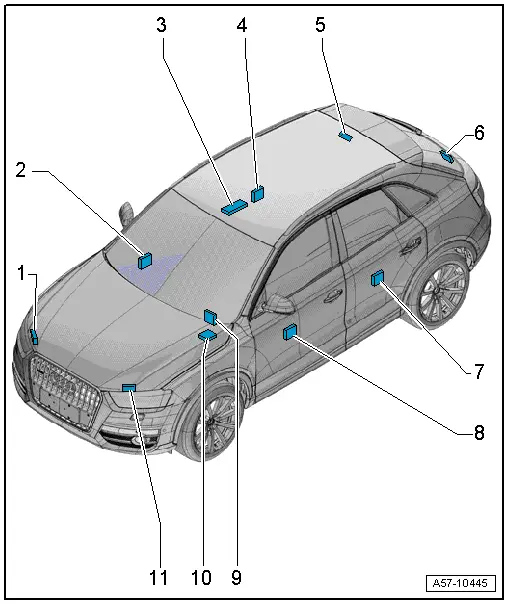
1 - Hood Contact Switch 2 -F329-
- Inside the rear lid lock
- Removing and installing. Refer to → Chapter "Engine Hood Contact Switch -F266-, Removing and Installing".
2 - Front Passenger Door Control Module -J387-
- Removing and installing. Refer to → Chapter "Driver Door Control Module -J386- and Front Passenger Door Control Module -J387-, Removing and Installing".
3 - Anti-Theft Alarm System Sensor -G578-
- Removing and Installing. Refer to → Electrical Equipment; Rep. Gr.96; Anti-Theft Alarm System; Anti-Theft Alarm System Sensor G578 Removing and Installing.
4 - Right Rear Door Control Module -J389-
- Removing and installing. Refer to → Chapter "Left Rear Door Control Module -J388- and Right Rear Door Control Module -J389-, Removing and Installing".
5 - Fuel Filler Door Unlock Motor -V155-
- Removing and installing. Refer to → Chapter "Fuel Filler Door Unlock Motor -V155-, Removing and Installing".
6 - Rear Lid Latch
- With the Rear Lid Central Locking System Motor -V53- / Rear Lid Alarm Switch -F123-, cannot be replaced separately.
- Overview. Refer to → Chapter "Overview - Rear Lid".
7 - Left Rear Door Control Module -J388-
- Removing and installing. Refer to → Chapter "Left Rear Door Control Module -J388- and Right Rear Door Control Module -J389-, Removing and Installing".
8 - Driver Door Control Module -J386-
- Removing and installing. Refer to → Chapter "Driver Door Control Module -J386- and Front Passenger Door Control Module -J387-, Removing and Installing".
9 - Vehicle Positioning System Interface Control Module -J843-
- Removing and installing. Refer to → Chapter "Vehicle Positioning System Interface Control Module -J843-, Removing and Installing".
10 - Vehicle Electrical System Control Module -J519-
- Removing and Installing, refer to → Electrical Equipment; Rep. Gr.97; Control Modules; Vehicle Electrical System Control ModuleJ516, Removing and Installing.
11 - Engine Hood Contact Switch -F266-
- inside the rear lid lock
- Removing and installing. Refer to → Chapter "Engine Hood Contact Switch -F266-, Removing and Installing".
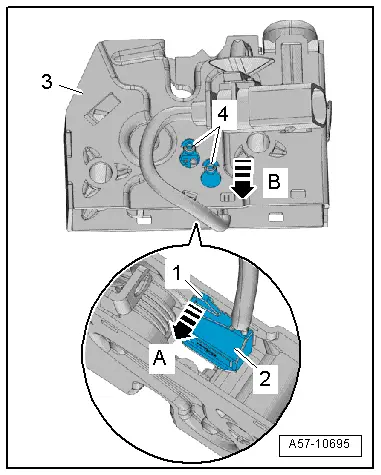
Engine Hood Contact Switch -F266-, Removing and Installing
Removing
- Remove the hood latch. Refer to → Chapter "Hood Latch, Removing and Installing".
- Raise the retaining tab -1--arrow A-.
- Disengage the contact switch -2- from the rear lid lock -3--arrow B- and remove.
Installing
Install in reverse order of removal. Note the following:
- The guide pins -4- on the engine hood contact switch must fit correctly inside the hood latch.
- Install the hood latch. Refer to → Chapter "Hood Latch, Removing and Installing".
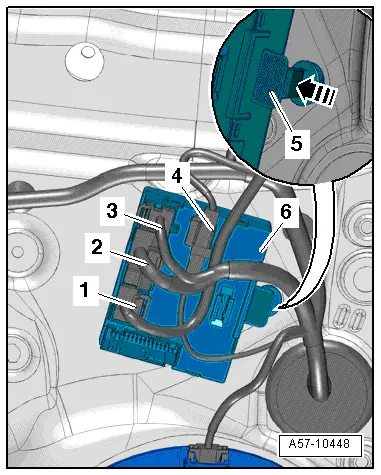
Driver Door Control Module -J386- and Front Passenger Door Control Module -J387-, Removing and Installing
Removing
- Remove the front door trim panel. Refer to → Body Interior; Rep. Gr.70; Front Door Trim Panels; Front Door Trim Panel, Removing and Installing.
- Open the release and the disconnect the connectors -1 and 2-.
- Disconnect the connector -3-.
- Remove the connector -4- from the door control module and disengage the wire.
- Press the retaining detent -5- in -direction of arrow- and disengage the door control module -6- on the door shell.
Installing
Install in reverse order of removal. Note the following:
- Install the front door trim panel. Refer to → Body Interior; Rep. Gr.70; Front Door Trim Panels; Front Door Trim Panel, Removing and Installing.
Left Rear Door Control Module -J388- and Right Rear Door Control Module -J389-, Removing and Installing
Removing
- Remove the rear door trim panel. Refer to → Body Interior; Rep. Gr.70; Rear Door Trim Panels; Rear Door Trim Panel, Removing and Installing.
- Open the release and the disconnect the connectors -2- and -3-.
- Press the tab -4- in direction of -arrow- and disengage the door control module -1- from the door shell.
Installing
Install in reverse order of removal. Note the following:
- Install the rear door trim panel. Refer to → Body Interior; Rep. Gr.70; Rear Door Trim Panels; Rear Door Trim Panel, Removing and Installing.
Fuel Filler Door Unlock Motor -V155-, Removing and Installing
Removing
- Remove the fuel filler door insert. Refer to → Chapter "Fuel Filler Door Unit, Removing and Installing".
- Remove the bolts -arrows-.
- Remove the fuel tank lid unlock motor -1- with emergency release cable from the fuel filler door insert -2-.
- If the fuel tank lid unlock motor must be replaced, then remove the fuel filler door emergency release cable. Refer to → Chapter "Overview - Fuel Filler Door Emergency Release".
Installing
Install in reverse order of removal. Note the following:
- Install the tank flap insert. Refer to → Chapter "Fuel Filler Door Unit, Removing and Installing".

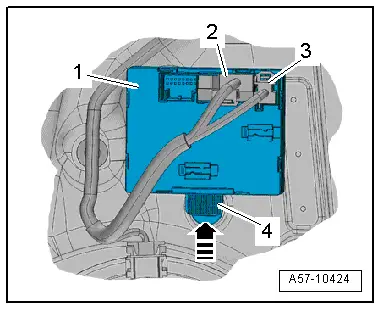
Vehicle Positioning System Interface Control Module -J843-, Removing and Installing
Removing
- Remove the driver side instrument panel cover. Refer to → Body Interior; Rep. Gr.68; Storage Compartments and Covers; Driver Side Instrument Panel Cover Removing and Installing.
- Disconnect the connectors -1-.
- Release the springs -arrows- and remove the interface control module -3- from the mount -2-.
Installing
Install in reverse order of removal. Note the following:
- Install the driver side instrument panel cover. Refer to → Body Interior; Rep. Gr.68; Storage Compartments and Covers; Driver Side Instrument Panel Cover Removing and Installing.
Special Tools
Special tools and workshop equipment required
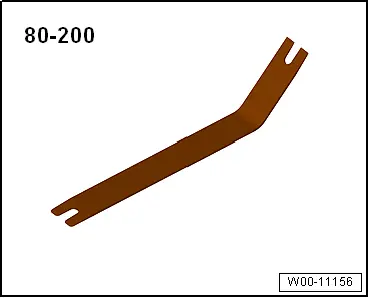
- Pry Lever -80 - 200-
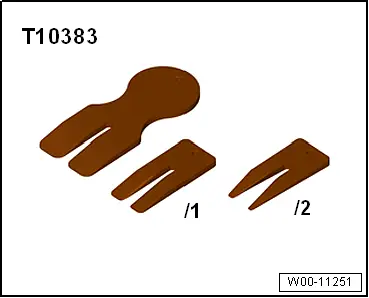
- Wedge Set -T10383-
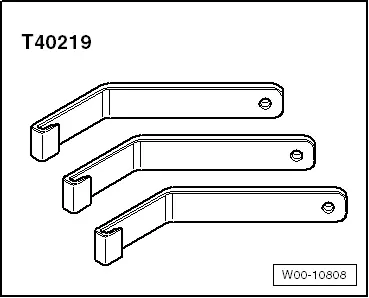
- Window Slot Seal Tool -T40219-
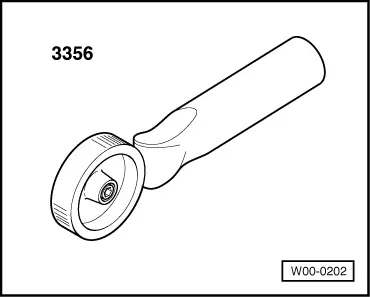
- Roller -3356-
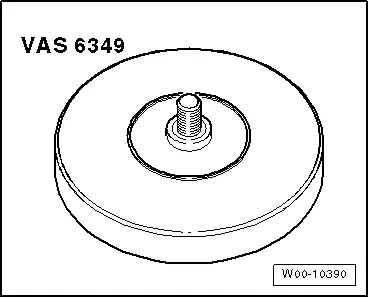
- Adhesive Strip Remover -VAS6349-
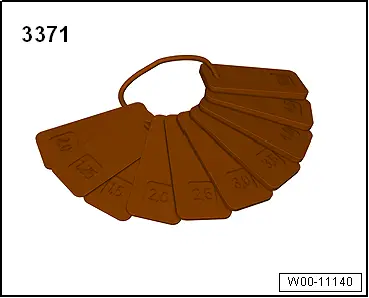
- Gauge - Gap Adjustment -3371-
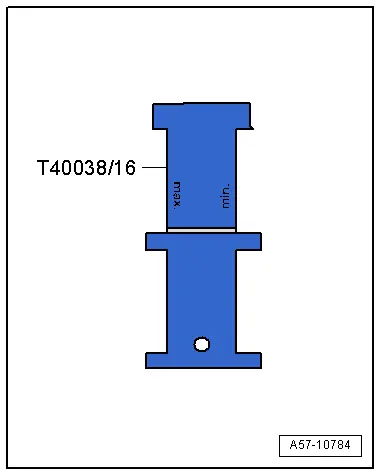
- Door Adjustment Template -T40038 /16-
READ NEXT:
 Overview - Door
1 - Door
Removing and installing. Refer to
→ Chapter "Door, Removing and Installing".
2 - Bolt
45 Nm
Note
The bolt is a fitting bolt so it is
Door, Removing and Installing
Removing
- Disconnect the door connector from the B-pillar. Refer to
→ Electrical Equipment; Rep. Gr.97; Connectors.
Note
Secure the B-pillar in the area of the doorSEE MORE:
Cleaning and care information
When cleaning and caring for individual vehicle
components, refer to the following tables. The
information contained there is simply recommendations.
For questions or for components that are not listed, consult an authorized Audi
dealer or authorized Audi Service Facility.
Exterior cleaning
a) Mi
Inner Window Shaft Strip, Removing and Installing
Removing
- Remove the rear window frame trim panel. Refer to
→ Body Interior; Rep. Gr.70; Rear Door Trim Panels; Window Frame
Trim Panel, Removing and Installing.
- Remove the window shaft strip -1-
upward -arrows-.
Installing
Install in reverse order of removal