Audi Q3: Automatic Headlamp Range Control
Overview - Automatic Head Lamp Range Control
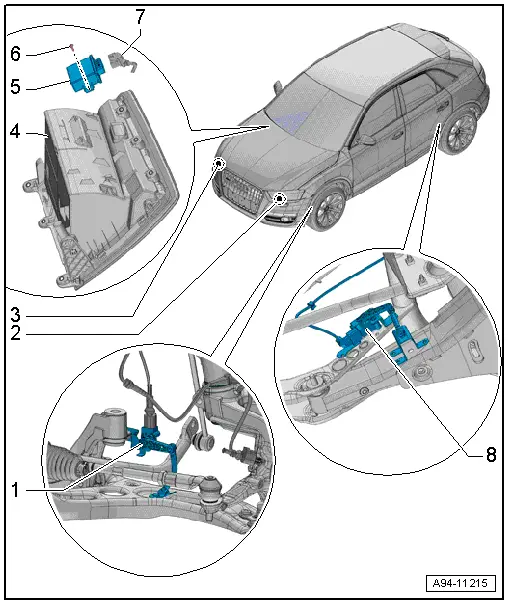
1 - Left Front Level Control System Sensor -G78-
- Component location: on the left front control arm
- Removing and installing. Refer to → Suspension, Wheels, Steering; Rep. Gr.43; Front Level Control System Sensor G78/G89 Removing and Installing.
2 - Left Headlamp Beam Adjustment Motor -V48-
- Removing and installing. Refer to → Chapter "Left/Right Headlamp Beam Adjustment Motor -V48-/-V49-, Removing and Installing, HID Headlamps, Version 1, through MY 2014".
3 - Right Headlamp Beam Adjustment Motor -V49-
- Removing and installing. Refer to → Chapter "Left/Right Headlamp Beam Adjustment Motor -V48-/-V49-, Removing and Installing, HID Headlamps, Version 1, through MY 2014".
4 - Glove Compartment
5 - Headlamp Range Control Module -J431-
- For vehicles without cornering lamp
- For vehicles with cornering light with integrated Cornering Lamp and Headlamp Range Control Module -J745-.
- Removing and installing. Refer to → Chapter "Headlamp Range Control Module, Removing and Installing".
6 - Bolt
- 1.5 Nm
- Quantity: 2
7 - Connector
8 - Left Rear Level Control System Sensor -G76-
- Component location: on the left rear control arm
- Removing and installing. Refer to → Suspension, Wheels, Steering; Rep. Gr.43; Rear Level Control System Sensor G76/G77 Removing and Installing.
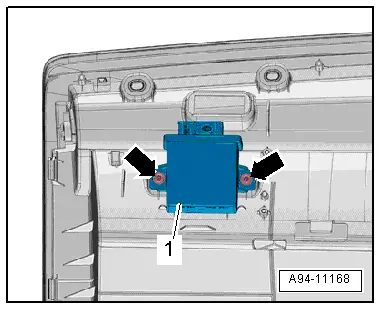
Headlamp Range Control Module, Removing and Installing
- If replacing the control module, select the "Replace Control Module" function Vehicle Diagnostic Tester.
Removing
- Remove the glove compartment. Refer to → Body Interior; Rep. Gr.68; Storage Compartment/Covers; Glove Compartment, Removing and Installing.
- Remove bolts -arrows- and remove control module -1-.
Installing
Install in reverse order of removal. Note the following:
- Install the glove compartment. Refer to → Body Interior; Rep. Gr.68; Storage Compartment/Covers; Glove Compartment, Removing and Installing.
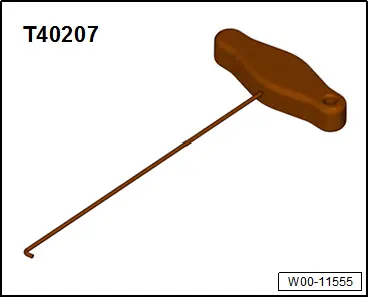
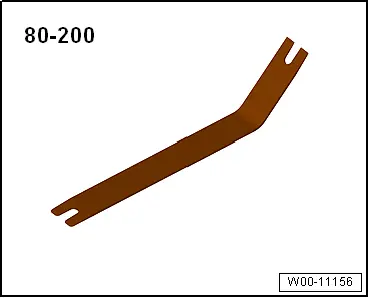
Special Tools
Special tools and workshop equipment required
- 7/16 Inch Extractor -T10424US-

- Hook Tool -T40207-
- Pry Lever -80-200-
READ NEXT:
 Component Location Overview - Instrument Panel Lamps
1 - Center Instrument Panel Vent Illumination Bulb -L68-
integrated in the center instrument panel vent Cannot be replaced
separately if faulty.
Center Instrument Panel Vent, remov
Component Location Overview - Door Ambient Lighting
1 - Storage Compartment Illumination Bulb -L120- in the Front Center
Console
Equipment level
Removing and installing. Refer to
→ Chapter "Storage Compartment Illumination
SEE MORE:
Upper Transverse Link, Removing and Installing
Upper Transverse Link, Removing and Installing, FWD Vehicles
Special tools and workshop equipment
required
Torque Wrench 1332 40-200Nm -VAG1332-
Removing
- Measure dimension from center of wheel to lower edge of
wheel housing. Refer to
→ Chapter "Wheel Bearing in Curb Weig
Refrigerant Circuit, Cleaning (Flushing), with Refrigerant R134a
General Information
Vehicles with a High Voltage System (Hybrid Vehicles)
Extremely Dangerous Due to High-Voltage
The high-voltage system is under high-voltage. Death or serious
bodily injury by electric shock.
- Individuals with electronic/medical life- and health sustaining
machines i
