Audi Q3: Attachments, Removing and Installing
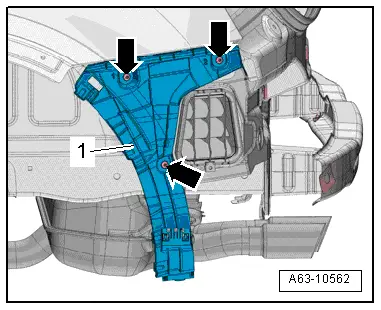
Bumper Cover Side Mount, Removing and Installing
Removing
- Remove the rear bumper cover. Refer to → Chapter "Bumper Cover, Removing and Installing".
- Remove the bolts -arrows-.
- Remove the bumper cover mount -1-.
Installing
Install in reverse order of removal. Note the following:
- Install the rear bumper cover. Refer to → Chapter "Bumper Cover, Removing and Installing".
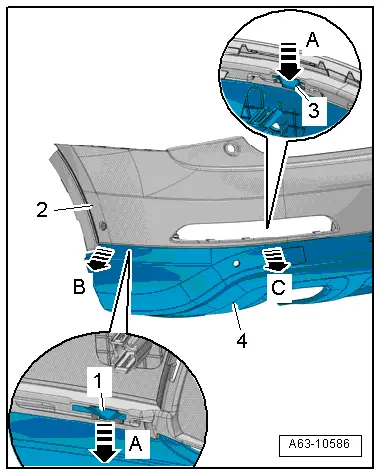
Bumper Cover Lower Section, Removing and Installing
Removing
- Remove the rear bumper cover. Refer to → Chapter "Bumper Cover, Removing and Installing".
- Vehicles with parking aid: disconnect the connector on the parking aid sensor.
- Push the tabs -1 and 3- carefully with a narrow screwdriver 3 in direction of -arrow A- and at the same time, remove on the lower section -4- and remove the clips from the bumper cover -2-.
- Unlock the lower section of the bumper cover from the outside -arrow B- to the center of the vehicle -arrow C-.
Installing
Install in reverse order of removal. Note the following:
- Push the lower section into the bumper cover until it clicks into place.
- Install the rear bumper cover. Refer to → Chapter "Bumper Cover, Removing and Installing".
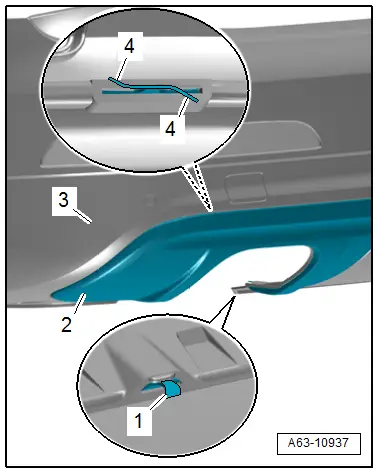
Impact Guard, Removing and Installing, Audi Q3 Offroad
Removing
- Remove the bumper cover. Refer to → Chapter "Bumper Cover, Removing and Installing".
- Bent the tabs -1 and 4- straight and remove the impact guard -2- rearward from the bumper cover -3-.
Installing
Install in reverse order of removal. Note the following:
- Install the bumper cover. Refer to → Chapter "Bumper Cover, Removing and Installing".
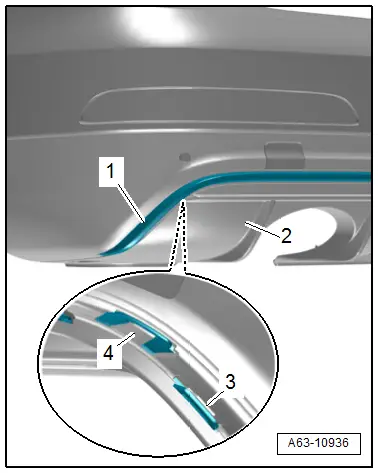
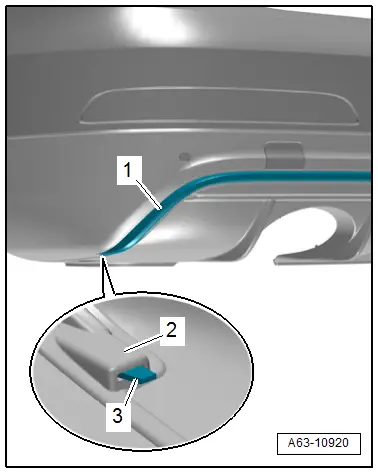
Bumper Cover Lower Section Trim Strip, Removing and Installing, Audi RS Q3
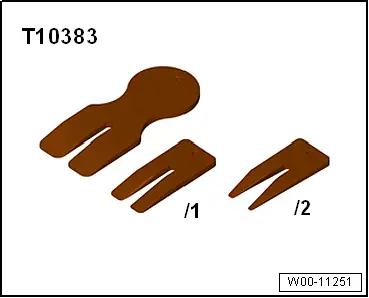
Special tools and workshop equipment required
- Wedge Set -T10383-
Removing
- Remove the bumper cover. Refer to → Chapter "Bumper Cover, Removing and Installing".
- Release the retainers -3 and 4- and press the trim molding -1- off the bumper cover lower section -2- using the Wedge Set -T10383-.
Installing
Install in reverse order of removal. Note the following:
The guide -3- on the trim strip -1- must engage in the bumper cover -2- when pushing in the mount, as shown in the illustration.
Special Tools
Special tools and workshop equipment required
- Wedge Set -T10383-
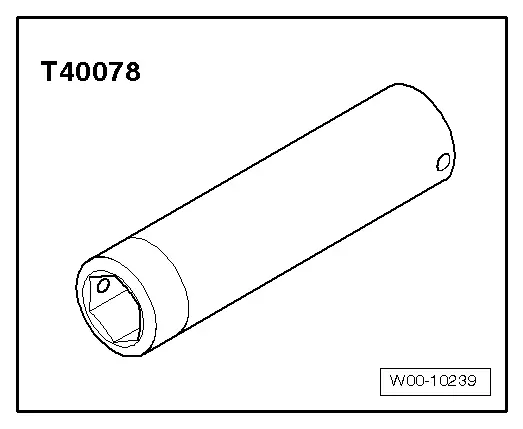
- Body Socket -T40078-
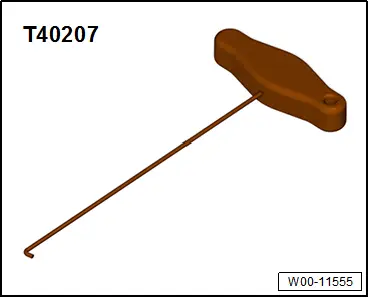
- Hook Tool -T40207-
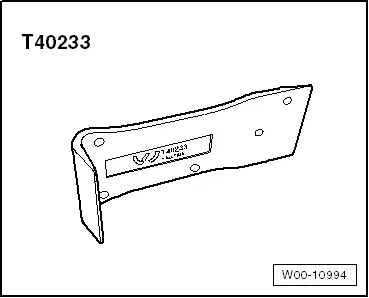
- Removal Wedge -T40233-
READ NEXT:
 Repair Information
Minimum Curing Time for Bonded Windows
WARNING
For safety reasons, use only electrically
non-conductive 2C-adhesive when installing windshield
and rear window using the materials li
Windshield
Overview - Windshield
Caution
On vehicles equipped with lane assist, the camera
must be recalibrated if the windshield has been
replaced. Refer to
→ Suspension, Wheels, SteeriSEE MORE:
Wheel Cover, Removing and Installing
Front Wheel Cover, Removing and Installing
Special tools and workshop equipment
required
Hot Air Blower VAG1416 -VAG1416-
Wedge Set -T10383-
Cleaning Solution -D 009 401 04-
Removing
- Remove the front wheel spoiler. Refer to
→ Chapter "Front Wheel Spoiler, Removing and
Drive Axle, Removing and Installing, Drive Axle with Bolted CV Joint VL
107
Removing
- Loosen the drive axle threaded connection on the wheel side.
Refer to
→ Chapter "Drive Axle Threaded Connection, Loosening and
Tightening".
- Remove the front wheel. Refer to
→ Chapter "Wheels and Tires".
- Remove the noise insulation -1-.
Refer t