Audi Q3: ESD Work Surface -VAS6613-
ESD Work Surface -VAS6613-, Using
- The electro-static discharge ESD Work Surface -VAS6613- protect electronic components from getting damaged by an electro-static charge.
- This makes is possible to perform repairs on sensitive electronic components on an open mat.
- For more information as to what work can be performed on the ESD Work Surface -VAS6613-. Refer to the "Electrical Equipment" chapter in the repair manual.
- Place the electro-static discharge mat -3- from ESD Work Surface -VAS6613- on a clean, dry table.
- Connect the Ground (GND) -2- to one of the buttons on the mat.
- Connect the GND connector adapter -1- to the adapter connector on an outlet with contact protection or connect the alligator clip to a ground in the building or a water pipe.
- Connect the wrist strap -4- to one of the buttons on the mat.
- Attach the wrist strap directly to your wrist - never to your shirt sleeve or jacket sleeve.
 Caution
If working on especially sensitive electronic component and with the pad exposed, use only non-magnetic tools, for example, a Wrench - Driver -T10072-.

Special Tools
Special tools and workshop equipment required
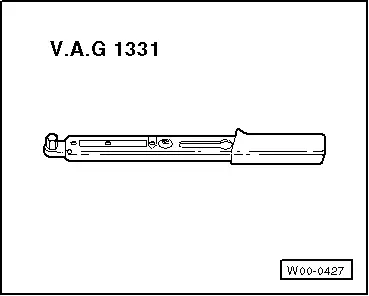
- Torque Wrench 1331 5-50Nm -VAG1331-
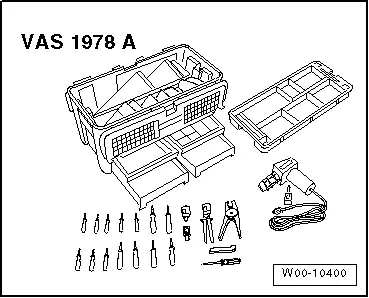
- Wiring Harness Repair Set -VAS1978A-
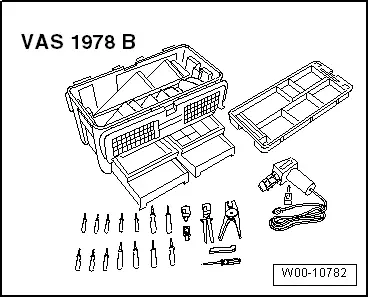
- Wiring Harness Repair Set -VAS1978B-
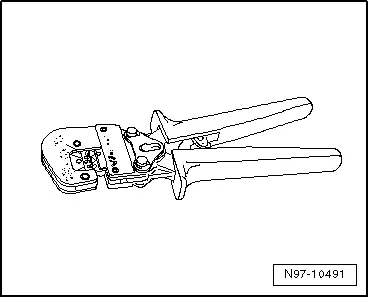
- Adjust the sliding stop in the Wiring Harness Repair Set - Wire Strippers -VAS1978/3- pliers jaws to 12 to 14 mm for the wire to be stripped.
- To press the crimp connector, use the Wiring Harness Repair - Crimping Plier - Base Tool -VAS1978/1-2- with Wiring Harness Repair - Crimping Head - .35-2.5mm -VAS1978/1-1-.
- Wiring Harness Repair Set - Hot Air Blower -VAS1978/14A- from the Wiring Harness Repair Set -VAS1978B-
- Wiring Harness Repair - Blower - Shrink Element -VAS1978/15A- from the Wiring Harness Repair Set -VAS1978B-
- Wiring Harness Repair Set VAS 631 003 -VAS631003-

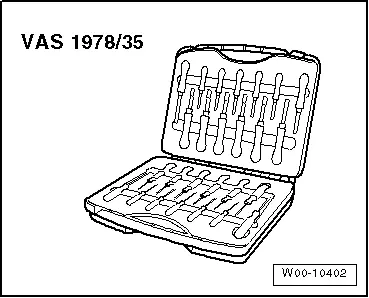
- Release Tool Set -VAS1978/35-
- Fiber Optic Repair Set -VAS6223B-

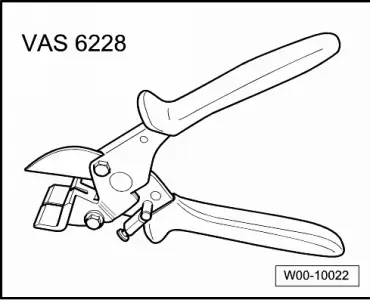
- Hose Cutting Pliers -VAS6228-
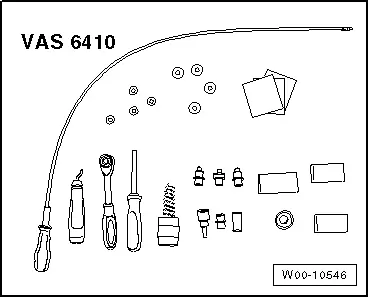
- Contact Surface Cleaning Set -VAS6410-
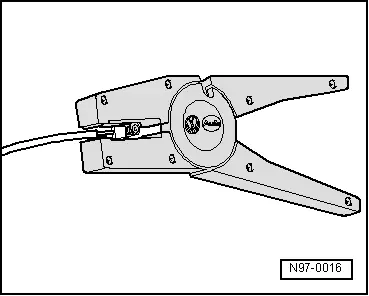
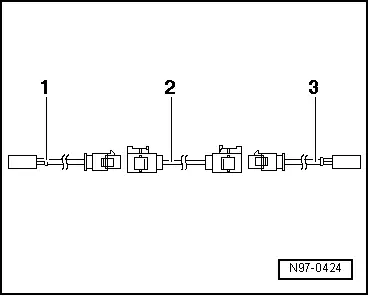
- -1- Adapter wire, for connection to radio; length: approximately 30 cm
- -2- Connecting wire, available in various lengths
- -3- Adapter wire, for connection to antenna; length: approximately 30 cm
- Contact Surface Cleaning Set -VAS6410-
- Aerial Cable Repair Set -VAS6720-
- Wiring Harness Repair - Blower - Shrink Element -VAS1978/15A- from the Wiring Harness Repair Set -VAS1978B-
- Wiring Harness Repair Set -VAS631001-
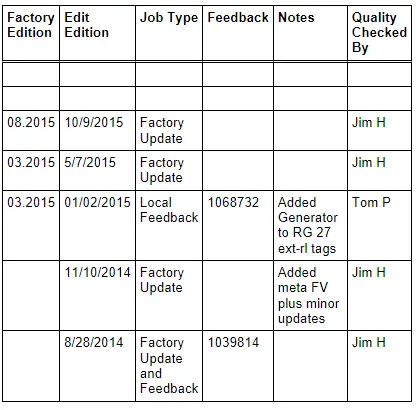
Revision History
DRUCK NUMBER: A005AA00421
READ NEXT:
 Radio Installation Instructions
Retrofitting Radio Systems
General Information
Before installing radios and telephone systems (radio
systems), disconnect the negative terminal of the Battery -A-.
Refer to
→Electrical EquipSEE MORE:
Adjusting the exterior lighting
The following settings depend on the vehicle
equipment.
Applies to: MMI: Select on the home screen:
VEHICLE > Light & Visibility > Exterior lighting.
Automatic headlights
You can adjust the following settings in the Automatic
headlights menu:
Activation time - You can adjust if the hea
Door, Adjusting
Special tools and workshop equipment
required
Gauge - Gap Adjustment -3371-
Door Adjustment Template -T40038 /16-
Check the Height Adjustment using the Door Adjustment
Template -T40038 /16-.
- The template must lay on the top of the trim strip
-1- as shown.
- The height is 