Audi Q3: Center Armrest, Removing and Installing
Center Armrest, Removing and Installing
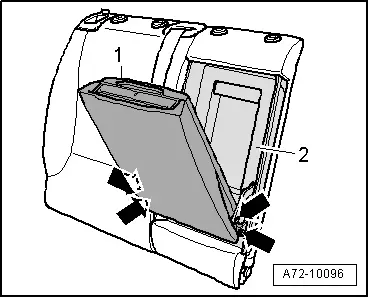
Removing
- Fold up the rear center armrest 2/3.
- Remove the bolts -arrows-.
- Remove the rear center armrest -1- from the pass-through door -2-.
Installing
Install in reverse order of removal. Note the following:
Installation notes, for example tightening specifications, replacing components. Refer to → Chapter "Overview - Center Armrest".
Cupholder, Removing and Installing
Special tools and workshop equipment required
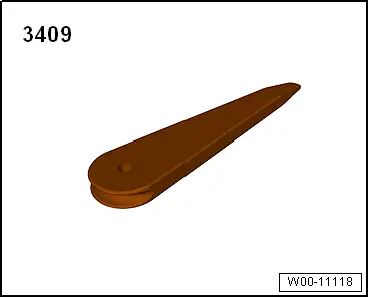
- Trim Removal Wedge -3409-
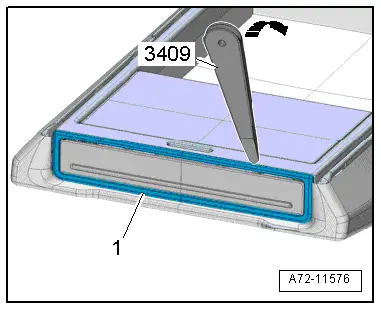
Removing
- Fold down the center armrest.
- Pry off the trim -1- using the Trim Removal Wedge -3409--arrow-.
- Remove the trim from the center armrest.
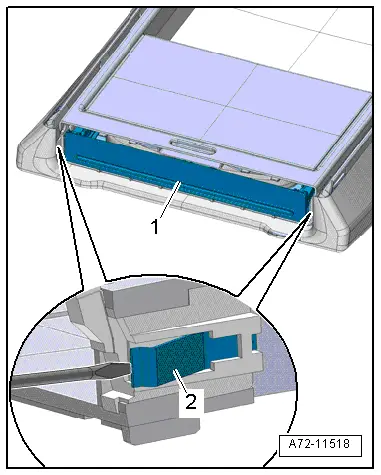
- Open the flap -1- on the cupholder.
- Release the spring -2- using a screwdriver and carefully remove the cupholder alternating between the sides.
Installing
Install in reverse order of removal.
Installation notes, for example tightening specifications, replacing components. Refer to → Chapter "Overview - Center Armrest".
Special Tools
Special tools and workshop equipment required
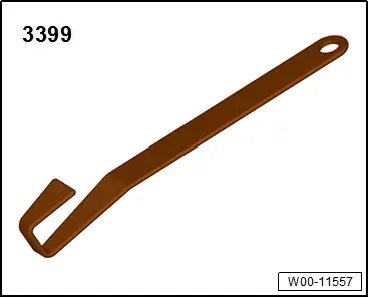
- Assembly Tool -3399-
- Trim Removal Wedge -3409-
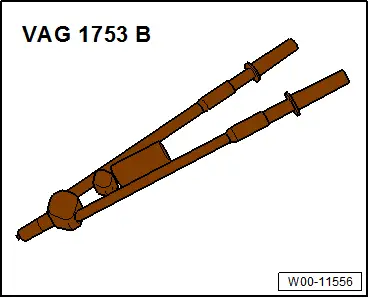
- Pop Rivet Pliers -VAG1753B-
- Drill
- Protective eyewear
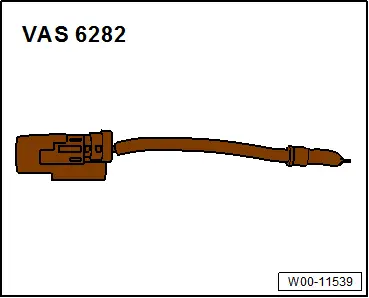
- Airbag Lockout Adapter -VAS6282-
- Universal Vehicle Protector -VAS871 001-
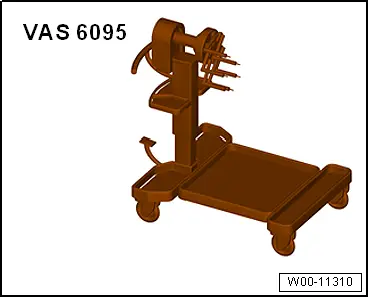
- Engine and Gearbox Bracket -VAS6095A-
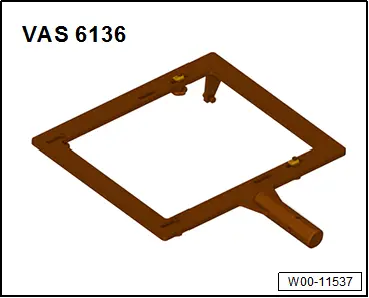
- Engine/Transmission Holder - Seat Repair Fixture -VAS6136-
READ NEXT:
 Overview - Seat Pan Cover and Cushion
Overview - Seat Pan Cover and Cushion, Standard/Folding Seat
Note
The illustration shows versions with a fabric cover.
1 - Seat Pan
2 - Seat Cushion
Seat cover a
Seat Pan Cover and Cushion, Removing and Installing
Seat Pan Cover and Padding, Removing and Installing, Standard/Folding
Seat
Special tools and workshop equipment
required
Backrest Panel Tool -3370-
Removing
WARNING
Follow aSEE MORE:
Audi pre sense basic
Applies to: vehicles with Audi pre sense basic
Audi pre sense basic is automatically active at
speeds of approximately 20 mph (30 km/h) and
higher. Audi pre sense basic can trigger the Audi
pre sense preemptive safety measures during
emergency braking and dangerous braking maneuvers
as well as in un
Driver Side Footwell Vent, Removing and Installing
Removing
- Remove the driver side instrument panel cover. Refer to
→ Body Interior; Rep. Gr.68; Storage Compartments and Covers;
Driver Side Instrument Panel Cover, Removing and Installing.
- Remove the bolt -1-.
- Remove the footwell vent -2-.
Installing
Inst